Introduction to Skirt Sewing
Sewing your own skirt is both rewarding and creative. Beginners and seasoned sewers alike can take pleasure in turning a length of fabric into a unique piece of clothing. In this guide, we’ll go through the fundamentals of how to sew a skirt, offering step-by-step instructions to make the process straightforward and enjoyable.
The beauty of making your own skirt is in the customization. You get to choose everything from the fabric to the fit and finish. Plus, the skills you learn can apply to other projects, making your sewing journey a versatile one. Even if you’ve never threaded a needle before, this guide aims to equip you with all the knowledge needed to create something you’re proud to wear.
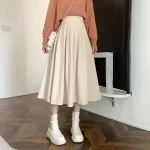
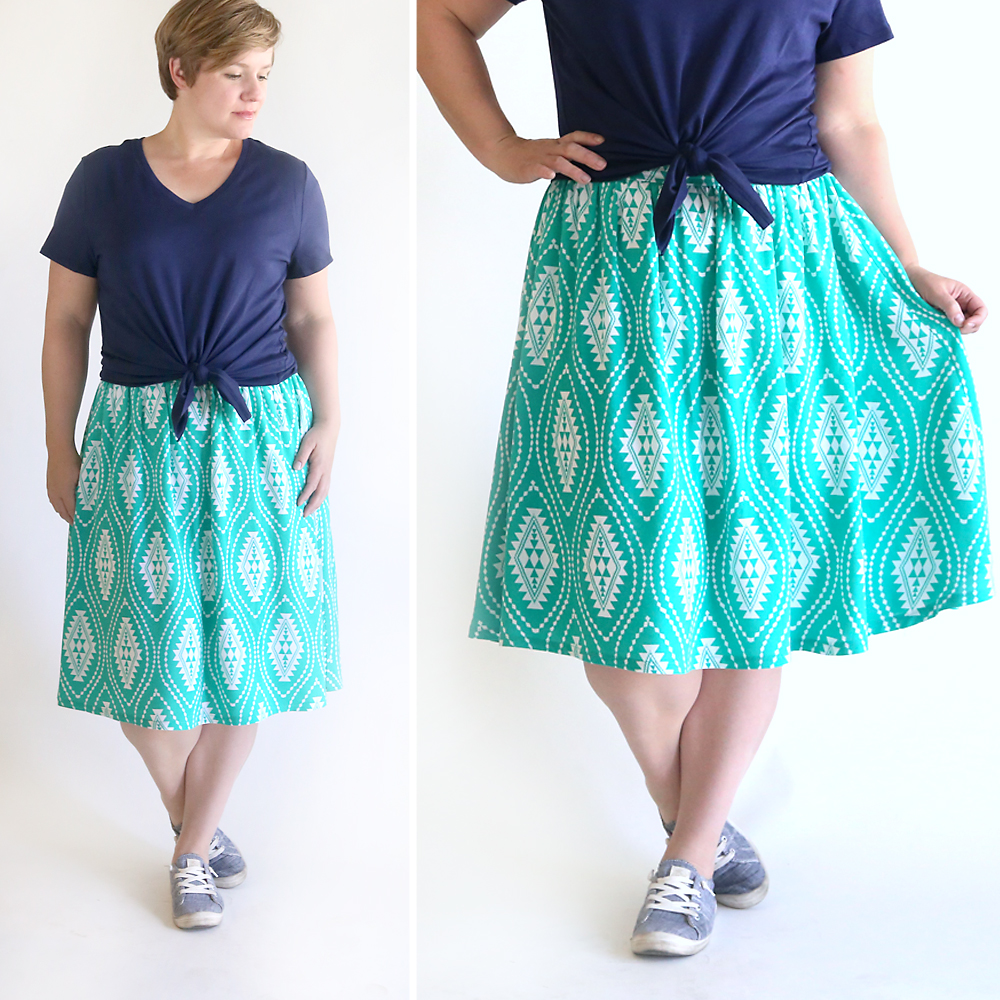
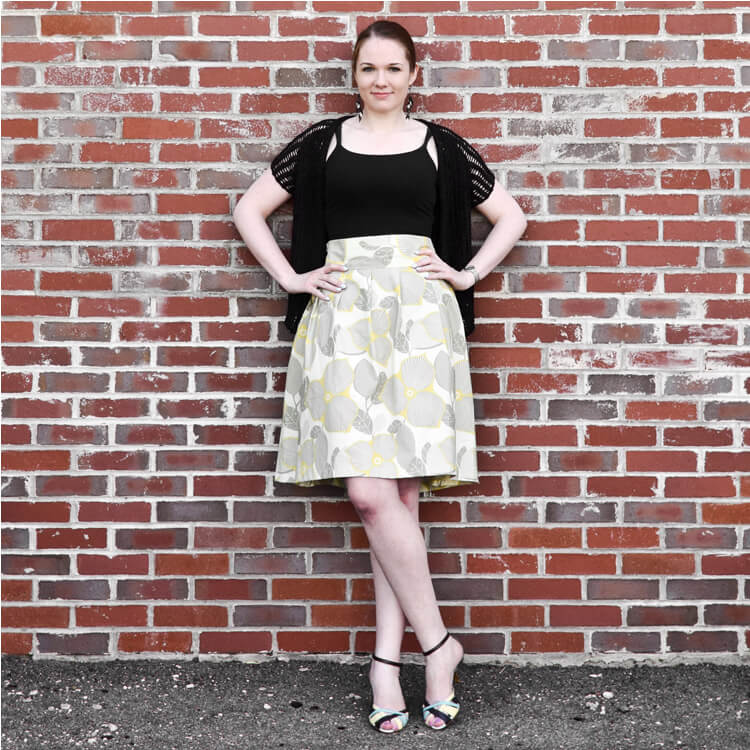
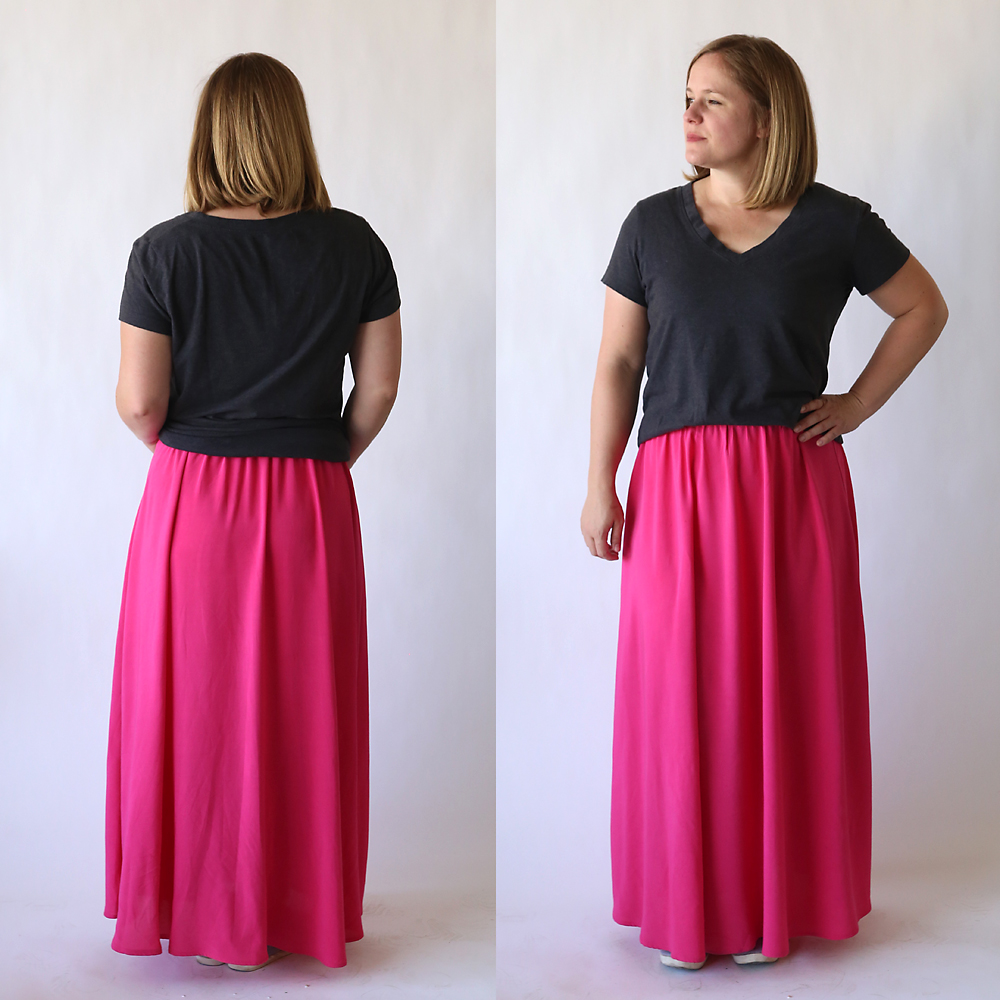
To begin, it’s essential to have a clear vision of what you want your skirt to look like. Whether it’s a flowing maxi, a classic A-line, or a chic pencil skirt, your design choice will dictate the materials, methods, and measurements you’ll use. Throughout this guide, the term ‘skirt’ can mean any of these styles and more. Let’s embark on this creative adventure with confidence and enthusiasm for the beautiful skirt you’re about to create.
Materials and Tools Needed
Before diving into the exciting process of how to sew a skirt, let’s stock up on the essentials. Gather your materials and tools to ensure a smooth sewing experience.
- Sewing Machine: This is a must for efficient sewing. Check that it is in good working condition.
- Fabric: Choose quality material that suits the style of skirt you want to make.
- Measuring Tape: For accurate body measurements and fabric cutting.
- Scissors: A sharp pair for clean cuts on fabric.
- Pins & Needles: These will hold fabrics in place and are used for hand stitching.
- Thread: Match the thread color to your fabric for a seamless look.
- Iron and Ironing Board: Crucial for pressing fabric before and after sewing.
- Pattern or Pattern-making tools: If you’re using a pattern, have it ready; or tools for drafting one.
- Zipper or Elastic: Depending on your design, you might need a zipper or elastic for the waist.
- Seam Ripper: Mistakes happen; a seam ripper helps in correcting them.
These are the basic tools and materials you will need to start sewing your skirt. Each one plays an important part in the creation process. Check off each item as you prepare to create your beautiful, custom-made skirt. This will help avoid any interruptions once you’ve begun the work.
Measuring for the Perfect Fit
To ensure your skirt fits you just right, accurate measuring is key. Here’s how to take your measurements for a flawless fit:
- Waist: Measure around your natural waistline. This is the narrowest part of your torso.
- Hips: Stand with your feet together and measure around the fullest part of your hips.
- Skirt Length: Decide the length by measuring from your waistline to where you want the skirt’s hem to fall.
Use a flexible measuring tape and keep it level for precision. Write down these numbers; they will guide you when cutting your fabric. Remember to measure twice; even a small mistake could affect the fit. If you’re between sizes, go for the larger size; you can always take in your skirt later. Getting these right sets the foundation for a polished, personalized skirt that you’ll love to wear.
Choosing the Right Fabric
Choosing the right fabric is crucial in how to sew a skirt. The material can affect both the look and feel of your finished piece. Follow these tips to find the perfect fabric for your skirt:
- Consider the Skirt Style: Different styles require different fabrics. A flowing maxi might need a lightweight chiffon or silk, while a pencil skirt often looks best in a sturdier material like wool or a cotton blend.
- Think About the Drape: The way a fabric hangs can change the skirt’s appearance. Soft, fluid fabrics tend to drape nicely, producing a graceful silhouette. Stiffer fabrics hold their shape and can give a more structured look.
- Check the Stretch: Some skirts need fabric with a bit of stretch. If your design fits snugly, look for fabrics with elastane or spandex. Remember that non-stretch fabrics are easier to sew for beginners.
- Season Matters: Lighter fabrics work well for summer skirts, while heavier materials like velvet, wool, or denim are suitable for winter.
- Pattern and Color: Select a color that complements your wardrobe. If you choose a patterned fabric, consider how it will look when the skirt is seamed together.
- Test Wash: Pre-wash a fabric swatch if possible. This helps you see if it shrinks or fades before you invest time and effort into sewing the skirt.
Remember, the right fabric will not only ensure a beautiful skirt but also determine its comfort and durability.
Cutting the Fabric
Once you have settled on the perfect fabric, it’s time to cut it to size. Cutting the fabric correctly is vital for the fit and look of your skirt. Here’s a step-by-step process for cutting your skirt fabric:
- Lay the Fabric Flat: Spread your fabric on a large, flat surface. Ensure there are no wrinkles or folds.
- Use Your Pattern: Place your pattern on the fabric following the layout instructions. Secure it with pins to avoid slipping.
- Mark the Fabric: If you’re not using a pattern, mark your measurements directly onto the fabric using tailor’s chalk or a fabric marker.
- Check Twice Before Cutting: Review your measurements and pattern placement. It’s crucial to double-check before you make any cuts.
- Cut with Sharp Scissors: Use your sharp fabric scissors to cut along the marked lines or edges of the pattern. Make smooth, confident cuts.
- Notch the Edges: Mark notches that align with the pattern’s key points; this will aid in aligning pieces when sewing.
- Save the Scraps: Keep your fabric scraps. They might come in handy for testing stitches or making small accessories like a matching belt.
After cutting the fabric, you’re ready to move on to piecing and sewing your skirt together. This step brings you closer to seeing your skirt come to life. Remember to use the keywords ‘how to sew a skirt’ as guidance throughout the cutting process, ensuring you’re aligning with the best practices for sewing a skirt.
Sewing Techniques for Skirts
Once you have your fabric cut, the next step on how to sew a skirt involves sewing. Proper sewing techniques are essential for a polished result. Here are the basics to get you started:
- Straight Stitch: This is the most common stitch in sewing. Use it for most of your skirt seams.
- Backstitch: At the beginning and end of each seam, do a backstitch to secure the thread.
- Zigzag Stitch: For fabrics that fray, use a zigzag stitch along the edge.
- Basting Stitch: This is a temporary, long stitch used to hold pieces together. Remove it once the final stitch is in place.
When you start to sew, ensure the fabric is smooth and not puckering. If it does, adjust the tension on your sewing machine. Pay attention when sewing curves and corners. Go slow to maintain control and precision. Remember to press seams as you go, it gives your skirt a professional look.
After assembling the main parts of the skirt, you will move on to add a waistband and hem, the final steps in making your garment wearable. Keep these techniques in mind as they form the foundation for the more advanced steps to follow.
Adding the Waistband
Adding a waistband is a key part of learning how to sew a skirt. It’s a defining feature that ensures your skirt sits comfortably at the waist. Whether you’re adding an elastic band for a simple pull-on skirt or sewing a more traditional fitted waistband with a closure, the following steps will have you finishing this aspect of your sewing project with ease.
- Measure Your Waist: Use your earlier measurements to cut the waistband to your size.
- Cut the Waistband Fabric: Cut a strip of fabric to the length of your waist measurement, adding extra for seams and overlap.
- Iron the Waistband: Press the waistband fabric, folding it along the length to make sewing easier.
- Sew the Waistband: Attach the waistband to the top edge of your skirt, right sides together. Secure with pins.
- Install Closure: If using a zipper or button, install it where the waistband ends overlap.
- Topstitch: For a clean finish, topstitch along the edge of the waistband.
The waistband not only has a practical function in keeping the skirt up but also contributes to the skirt’s overall aesthetic. The choice of using an elastic or fitted waistband can change the look and feel of the skirt dramatically. By following the above steps, you’ll add a well-fitted waistband that complements the style and shape of your homemade skirt.
Hemming and Finishing Touches
A great skirt deserves a great finish. Hemming is the final step in the ‘how to sew a skirt’ guide. Hemming gives the bottom edge of your skirt a clean line and helps it hang properly. Use these simple steps to hem your skirt and add any final touches.
- Iron the Hem: Press the bottom edge of your skirt up to the desired hemline. Use pins to hold it in place.
- Stitch the Hem: Choose a straight stitch on your sewing machine and sew close to the folded edge. Remove the pins as you go.
- Double-check for Evenness: After sewing, check the hem to ensure it’s even all around. Make any needed adjustments.
- Add Embellishments: Personalize your skirt by adding decorative touches, like lace, ribbon, or buttons.
- Final Press: Iron the skirt one last time to set the hem and remove any wrinkles.
With these steps, you’ve completed your sewing project. You’re now ready to show off your skillfully crafted, custom-made skirt with pride.
Conclusion: Enjoying Your Handmade Skirt
With the final stitch on the hem, you’ve now learned how to sew a skirt. This journey from selecting fabric to adding a waistband has hopefully been as enjoyable as it is informative. The satisfaction of creating a unique piece of clothing that fits your style and body perfectly cannot be overstated.
Take a moment to admire your work. Every cut, every stitch, every press was a step towards this achievement. Maybe it wasn’t perfect, but with each skirt you sew, your skills will grow. And what’s more valuable than the learning process itself is the confidence you gain with each project.
Wear your skirt with pride. Pair it with different tops and accessories. See how it moves and feels when you wear it out. The compliments you’ll receive are tokens of appreciation for your craft. They also serve as inspiration for your next sewing project.
Remember, the skills you’ve honed are not just for skirts. They can be a gateway to more elaborate creations. Let your imagination lead the way. Experiment with different fabrics, styles, and techniques.
In conclusion, sewing your own skirt is more than a hobby; it’s a way of expressing your individuality. It’s a sustainable choice that beautifies your wardrobe and the world. Keep sewing, keep learning, and most importantly, enjoy every stitch on the journey of sewing your perfect wardrobe.